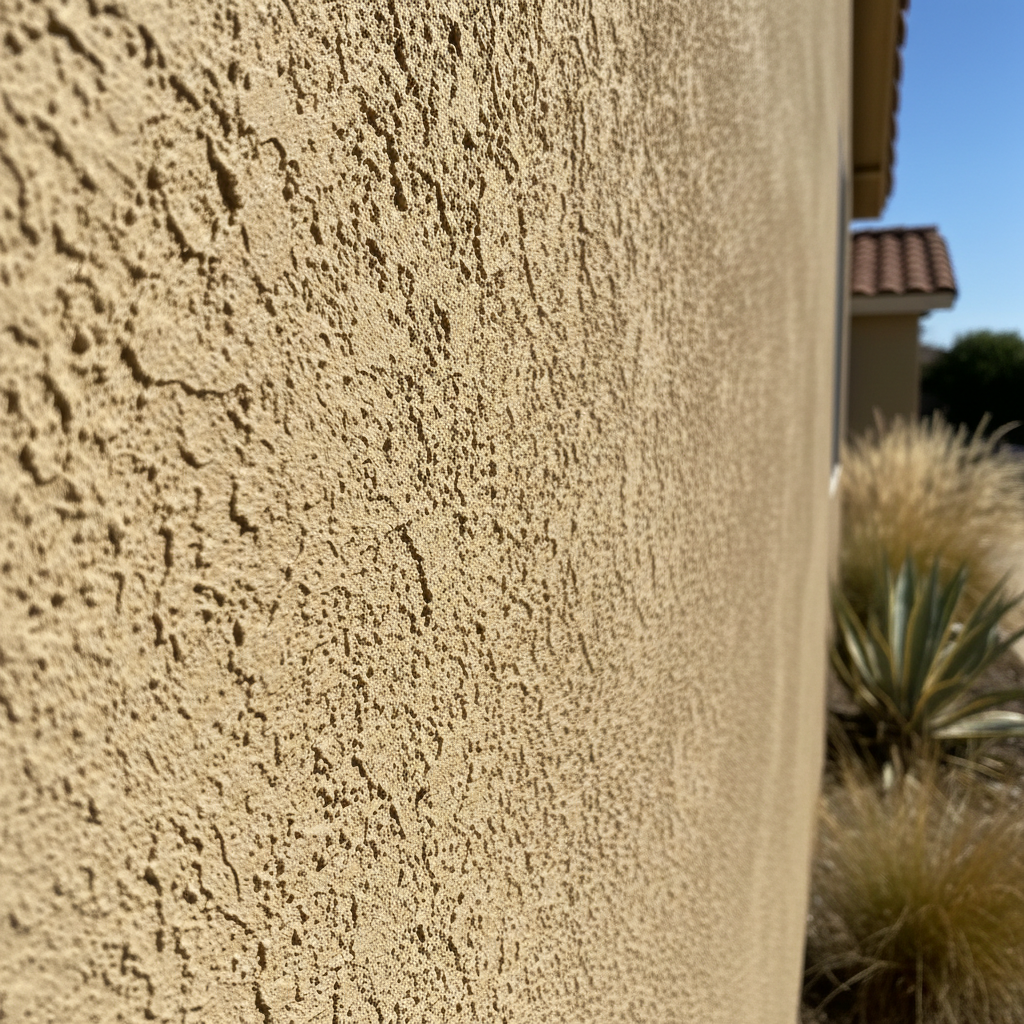
So, you're looking at your stucco and thinking, "Yep, it's time for a full replacement." Not just a patch-up, but the whole shebang. Maybe it's got widespread cracking, or water damage that's just gone too far. Or, you know, it's just plain old and tired. It's a big job, no doubt about it, and you're probably wondering what you're really getting into. Let's talk about what you need to know before, during, and after a stucco replacement project right here in Hemet.
Before You Start: Planning and Assessment
First things first, you've gotta figure out the scope. Is it just one wall? Or the whole house? What's the real problem here? Sometimes what looks like surface damage is actually a symptom of bigger issues, like water getting in behind the stucco. If you've got soft spots, bulging, or persistent staining, especially around windows or rooflines, you're likely dealing with water damage that's messed up the sheathing underneath. You can poke around gently with a screwdriver in suspect areas to feel for softness, but be careful not to make things worse, okay?
Now, about doing it yourself. Can you remove old stucco? Absolutely. It's labor-intensive, dusty, and can be messy, but it's not rocket science. You'll need a pry bar, a hammer, a chisel, and some serious elbow grease. Make sure you've got good eye protection, gloves, and a dust mask. Renting a dumpster for all that debris is usually a smart move. But here's the kicker: once that old stucco is off, you're looking at the building paper, lath, and possibly the sheathing. This is where things can get complicated fast.
If you uncover widespread rot, mold, or structural issues with the framing, that's way beyond a typical homeowner's DIY scope. That's when you stop, take a deep breath, and call in a general contractor or a specialized stucco company like Hemet Stucco & Plastering. We've seen it all, from termite damage to dry rot caused by years of unaddressed leaks, especially in those older homes up by the foothills where drainage might not have been a priority back in the day.
During the Project: Installation and What to Expect
Let's say you've removed the old stucco and everything underneath looks solid. Great! Now, applying new stucco? That's a whole different ballgame. This isn't a DIY job for most folks. Stucco application is an art and a science. It involves multiple layers – a scratch coat, a brown coat, and a finish coat – each with specific mix ratios, application techniques, and curing times. Getting the layers right, making sure they stick, and achieving a uniform finish takes years of practice.
Here's why you really want a pro for the application:
- Proper moisture management: This is critical, especially in our climate where we get those intense summer suns and then occasional heavy rains. A skilled stucco crew knows how to install flashing, weep screeds, and building paper correctly to prevent water from getting behind your new stucco.
- Consistent finish: You want your house to look good, right? A pro will make sure the texture and color are consistent across all surfaces. Trying to do this yourself often results in uneven patches, visible seams, and an overall amateur look.
- Tools and equipment: We're talking about mixers, sprayers, specialized trowels, scaffolding – a lot of gear that most homeowners don't have lying around.
- Time and effort: Applying stucco is physically demanding and time-consuming. It's definitely not a weekend project.
So, while you might save some money on demolition, the actual installation is best left to the experts. They'll handle the permits, the materials, and the skilled labor needed to get it done right the first time.
After the Stucco Replacement: Care and Maintenance
Once your new stucco is up and cured, the hard part's over, but your job isn't quite done. You'll need to do some basic maintenance to keep it looking great and performing well for decades. The first thing is to protect it from water. Make sure your sprinklers aren't constantly hitting the walls. Over time, that constant moisture can lead to algae growth and even mess with the stucco's integrity.
Keep an eye out for any cracks, no matter how small. Hairline cracks are pretty normal as a house settles and temperatures fluctuate, but anything bigger than a credit card's width should be addressed. You can usually fill these smaller cracks with an elastomeric caulk specifically designed for stucco. Just make sure the crack is clean and dry before you apply it. For larger cracks or areas of spalling (where the stucco is flaking off), you'll want to call your stucco contractor back to assess the situation.
Cleaning is pretty straightforward. A gentle wash with a garden hose and a soft brush can remove dirt and dust. For tougher stains, a mild detergent solution (like dish soap and water) usually does the trick. Avoid high-pressure washers, as they can damage the stucco surface if not used correctly. You don't want to blast away the finish or force water into places it shouldn't go.
Regular inspections, maybe once a year, are a good idea. Walk around your house, check the stucco, look at the flashing around windows and doors, and make sure your gutters are clean and directing water away from the foundation. Catching small issues early can prevent them from turning into expensive problems down the road. A new stucco job is a big investment, and a little bit of care goes a long way in protecting it.